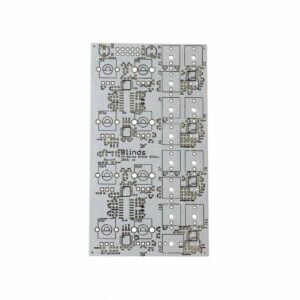


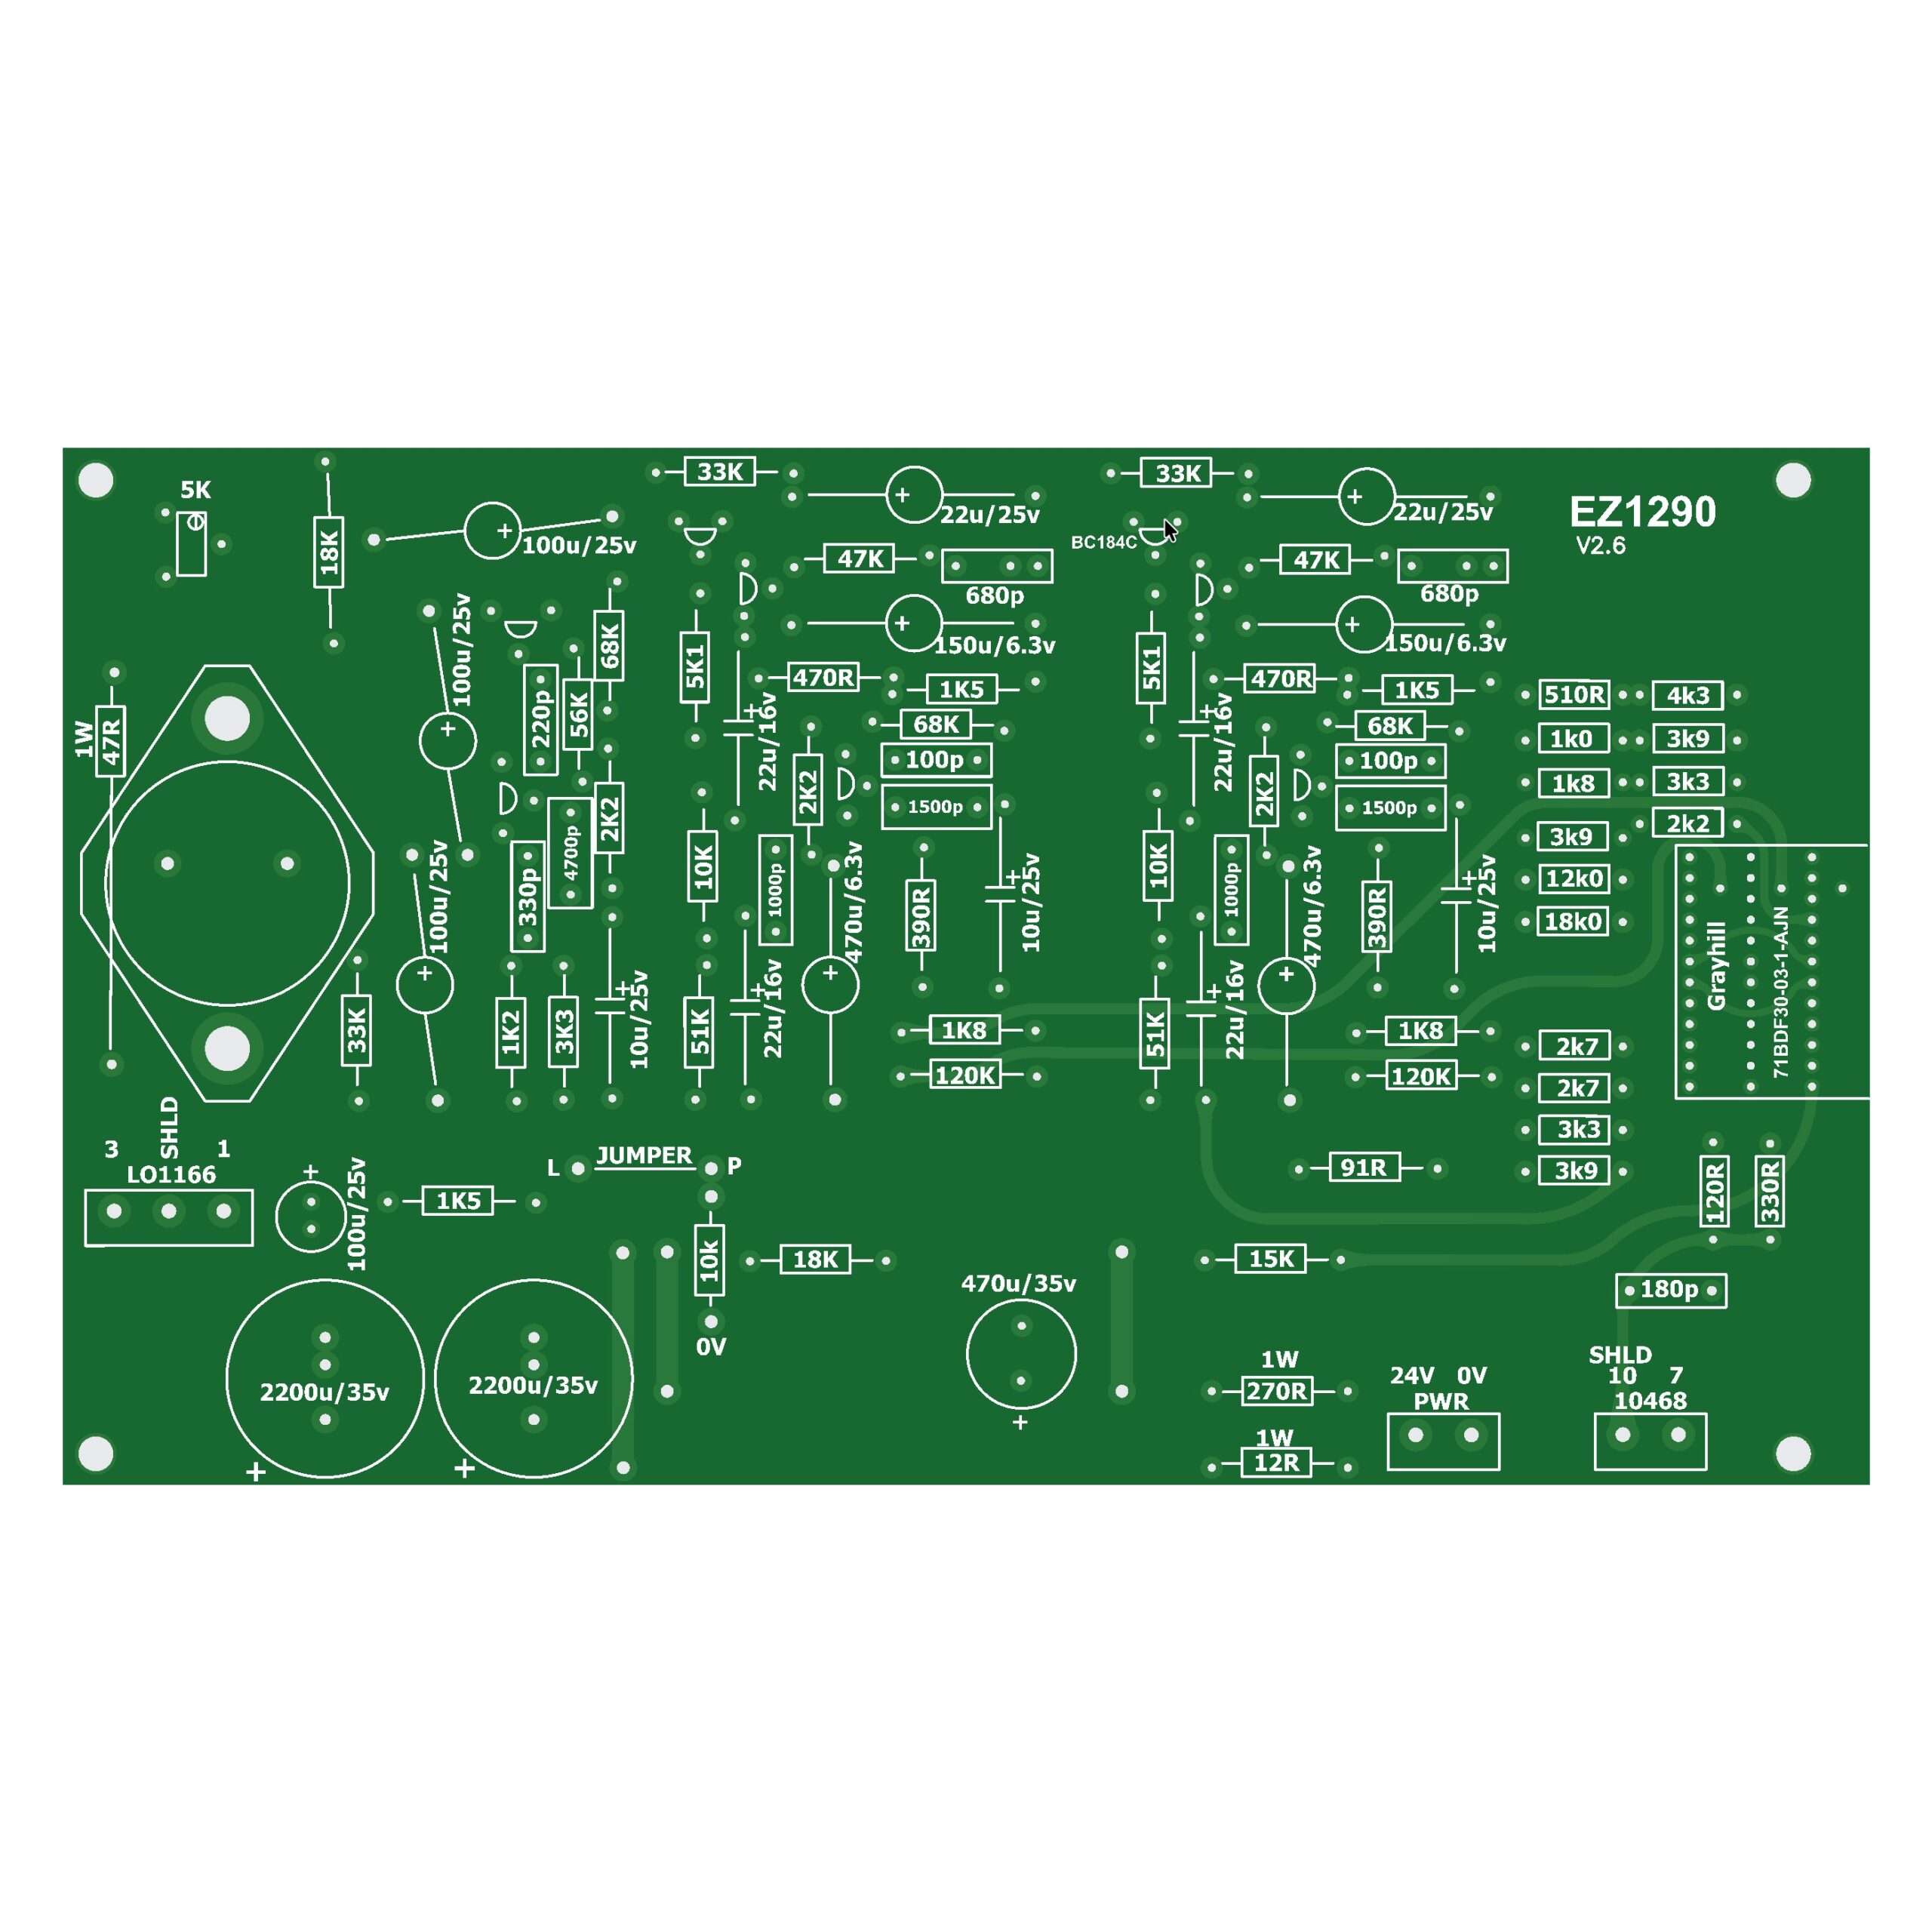
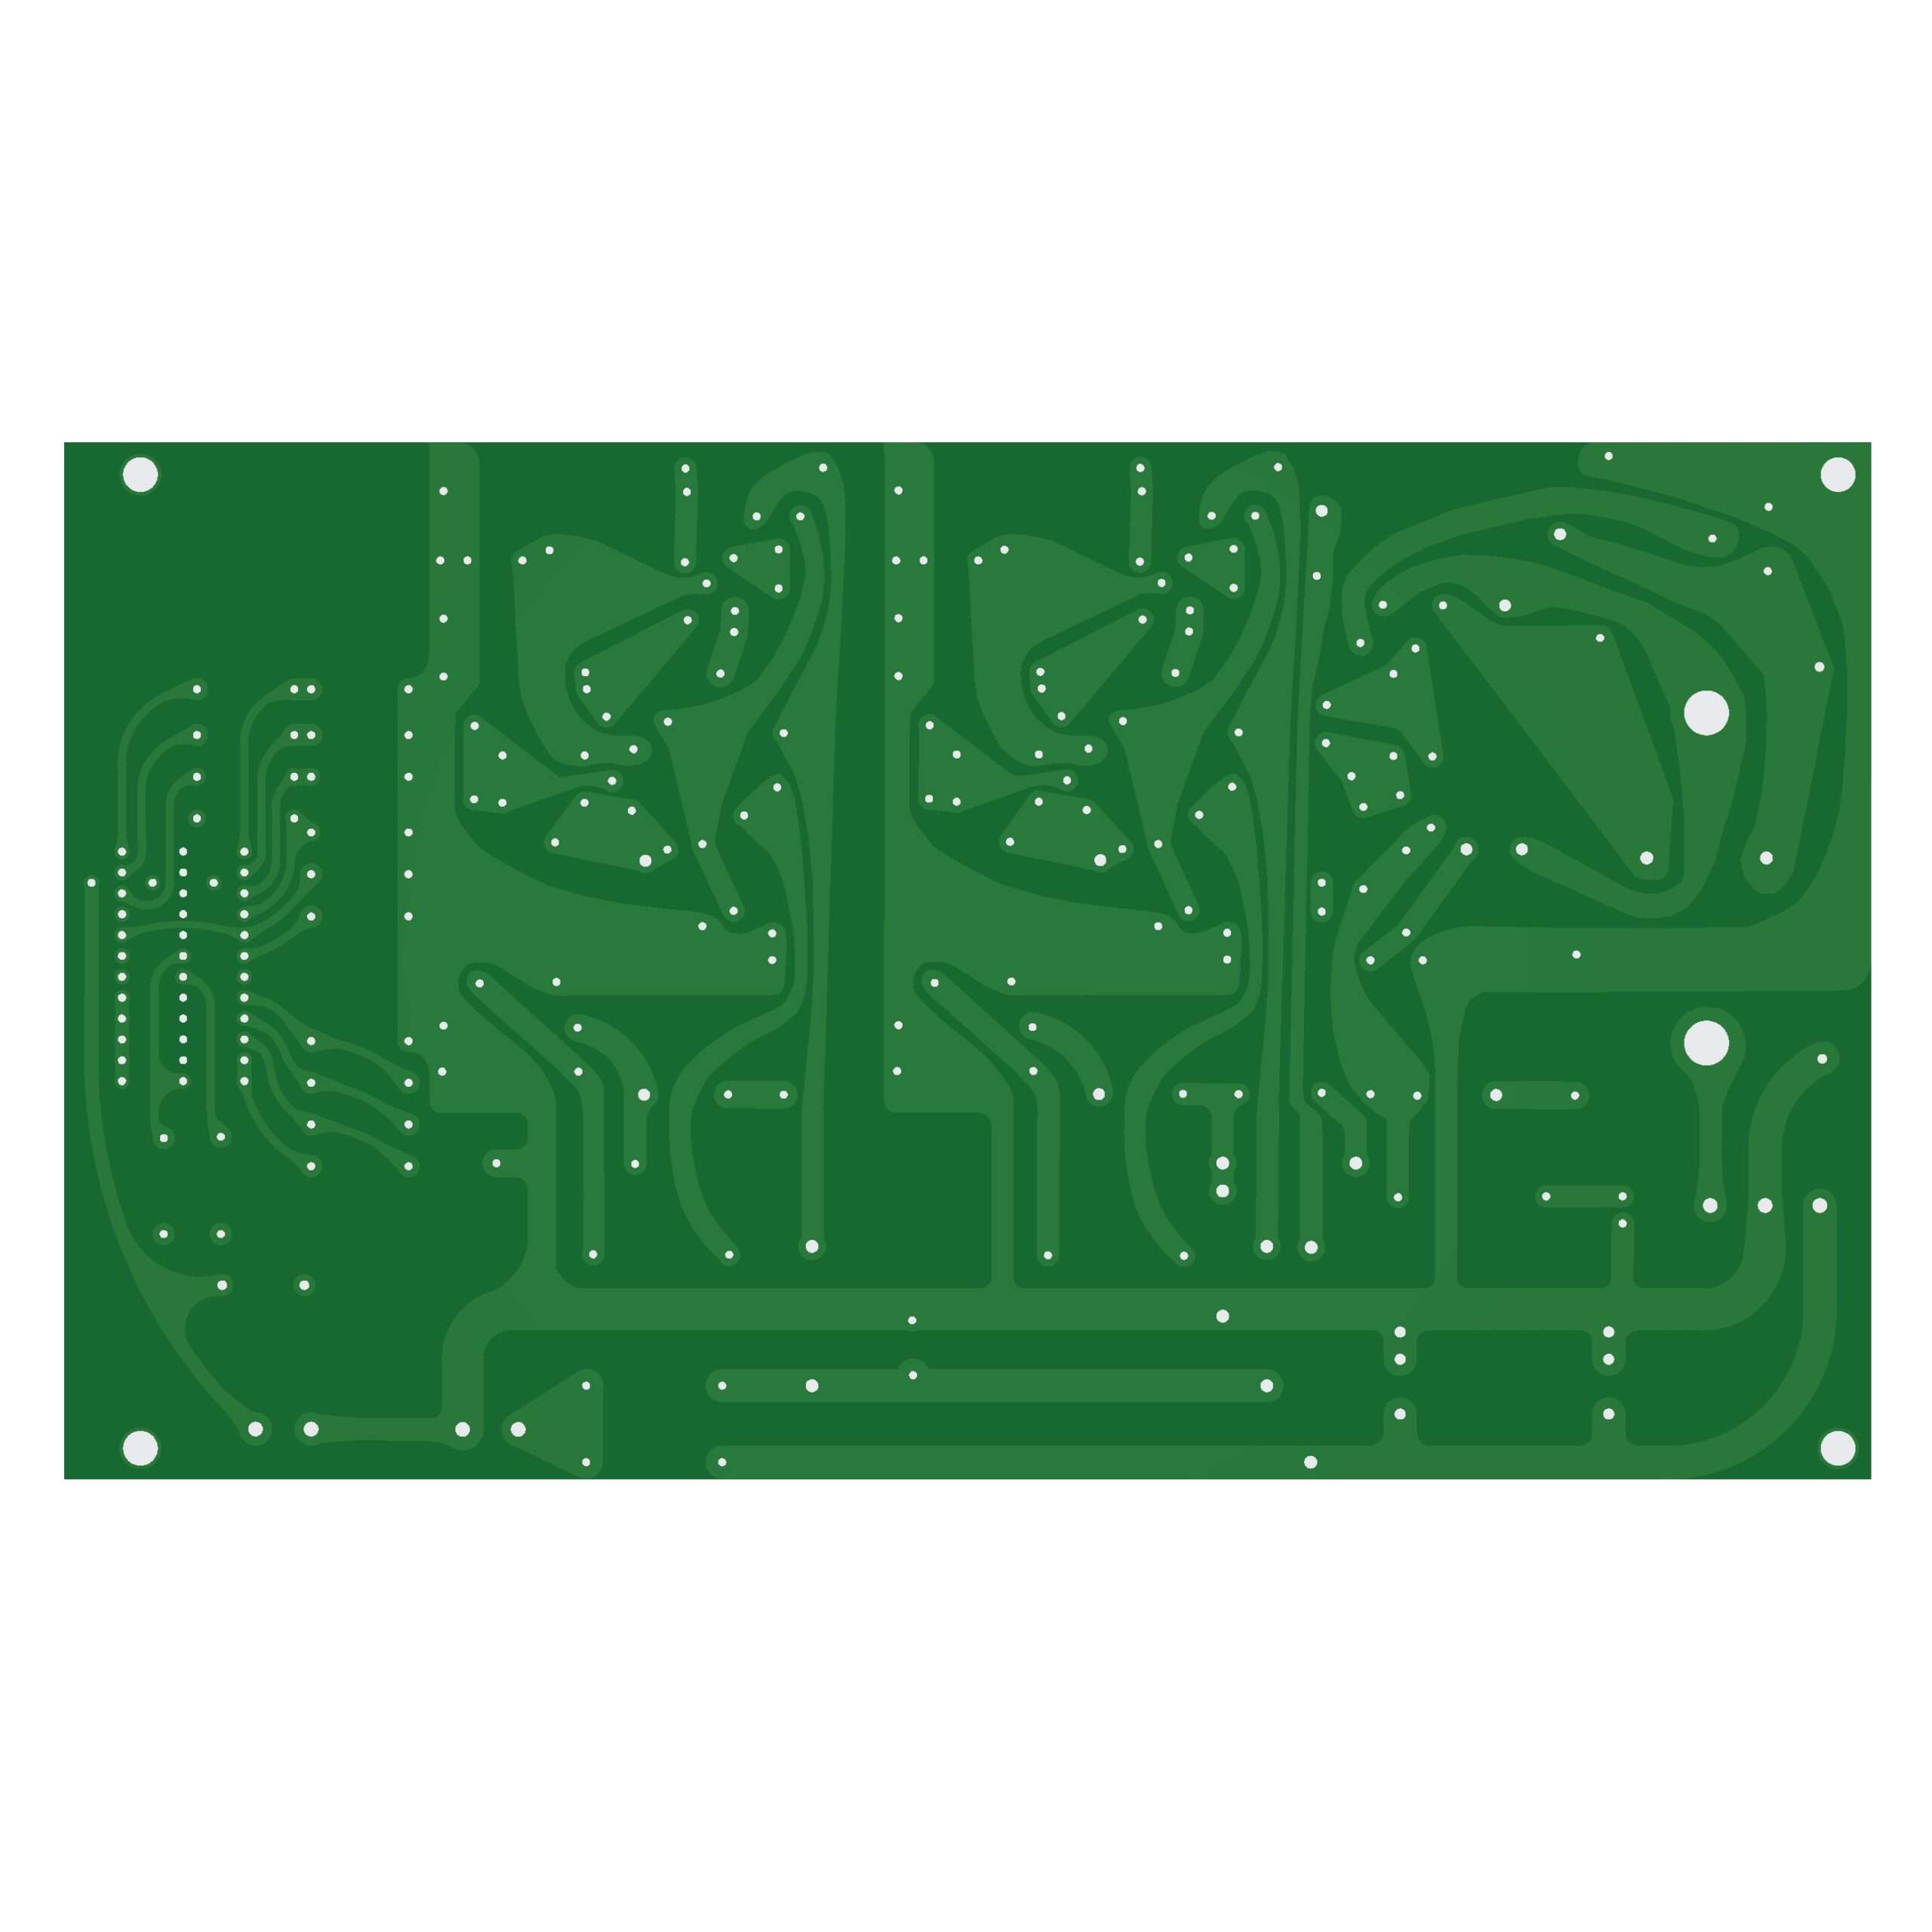
EZ1290 Preamp PCB
$29.95
14 in stock
The EZ1290 is Martin Adriaanse’s replica of the Neve 1290 mic preamp — the same preamp stage used in the 1073, minus the EQ and line input. It is a thoroughly documented build with a long track record on GroupDIY.
“The EZ1290 is a carefully designed replica of the classic Neve 1073 preamp without EQ and Line-Input. The 1290 number originates from Neve’s very own 1290 preamp, which was essentially a 1073 sans EQ.” — Martin Adriaanse, designer
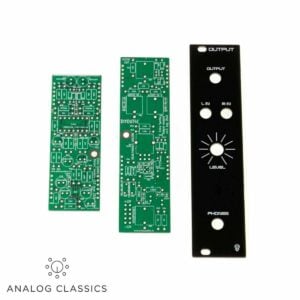
What’s included: the bare PCB only. BOM, assembly manual, and the GroupDIY build thread are in the Documentation tab.
Analog Classics does not provide build support for this project.
Build FAQ — answers from Martin Adriaanse
What does one channel cost to build, complete with case and power supply?
$200–$300 per channel. Not free, but a good deal.
How did you drill the rear panel?
Laid out with a ruler and center punch, pre-drilled 3/8″, then punched with a 15/16″ Greenlee punch — 15/16″ is perfect for Neutrik XLRs. Put the connector in the hole, use a carpenter’s square to align it straight on the case, and mark the screw holes from there.
At higher gain settings I get high-pitched squeal or audio dropouts.
That’s oscillation. Usual causes:
- Not using shielded wire throughout
- Mic input wires running too close to line output wires, especially unshielded
- The 10468 (VTB9045) sitting too close to the LO1166 (VTB9049)
- A malfunctioning 2N3055
Also check the resistor values around the gain switch.
Can I use unshielded hookup wire for transformer-to-XLR, transformer-to-PCB, etc.?
No. Use the mic cable specified in the BOM — it has a shield.
What cable for the 4-pin XLR umbilical between PSU and rack case?
3- or 4-conductor 18AWG stranded with a shield; use the shield to bond both cases together. Most electronics stores carry it — it is also used for alarm installs, and home improvement stores may have it. Hard to find online in less than 1000″ spools.
What standoffs should I use to mount the boards?
Nonconductive nylon. Don’t use metal.
I’m getting 50/60 Hz hum.
Move the power transformer away from the audio — preferably outside the rack case.
Can I fit it all in 1U?
Yes, but you need the narrow board output transformer (VTB1148, available from audiomaintenance.com). You may also have to mount some of the larger capacitors flat and bend the fins on the 2N3055 heatsink down a bit.
Do I have to bias it? I don’t have a scope or signal generator.
Get a scope and generator — strongly recommended. In a pinch, adjust the 5k trimpot on the board until the TR3 collector (the 2N3055 case) reads 22.66 V to ground.
How do I add polarity/pad/DI?
The JLM Audio DI is probably the easiest route.
It’s not working. What should I check?
- Transistor voltages
- Resistor values and capacitor orientation
- Reheat all solder joints, including transformers and XLRs
- Is the jumper soldered in (labeled jumper on the PCB)?
- Is the 2N3055 bolted to the PCB with conductive (metal) standoffs?
- PSU voltage
- Wiring on the input and output transformers — check meticulously
- Shielded cable on all audio connections?
Any other hints?
Be careful with mains voltage (120–220 V) — it can seriously hurt or kill you. Don’t touch anything on the PSU while it is plugged in. Adjust the PSU to the correct voltage before connecting it to the EZ1290. And follow the assembly guide, BOM, and this FAQ precisely; read them a few times before starting. People who do generally end up with a properly functioning, great-sounding mic pre.
It’s not working. What should I check?
- Transistor voltages
- Resistor values and capacitor orientation
- Reheat all solder joints, including transformers and XLRs
- Is the jumper soldered in (labeled jumper on the PCB)?
- Is the 2N3055 bolted to the PCB with conductive (metal) standoffs?
- PSU voltage
- Wiring on the input and output transformers — check meticulously
- Shielded cable on all audio connections?
Any other hints?
Be careful with mains voltage (120–220 V) — it can seriously hurt or kill you. Don’t touch anything on the PSU while it is plugged in. Adjust the PSU to the correct voltage before connecting it to the EZ1290. And follow the assembly guide, BOM, and this FAQ precisely; read them a few times before starting. People who do generally end up with a properly functioning, great-sounding mic pre.
| Brand | Analog Classics |
|---|---|
| Condition | New |
| Color | Green |